Vamos começar por pegar no nosso flyer e prepará-lo para podermos iniciar o nosso origami.
Let’s start by grabbing our flyer and prepare it so we can begin our origami.
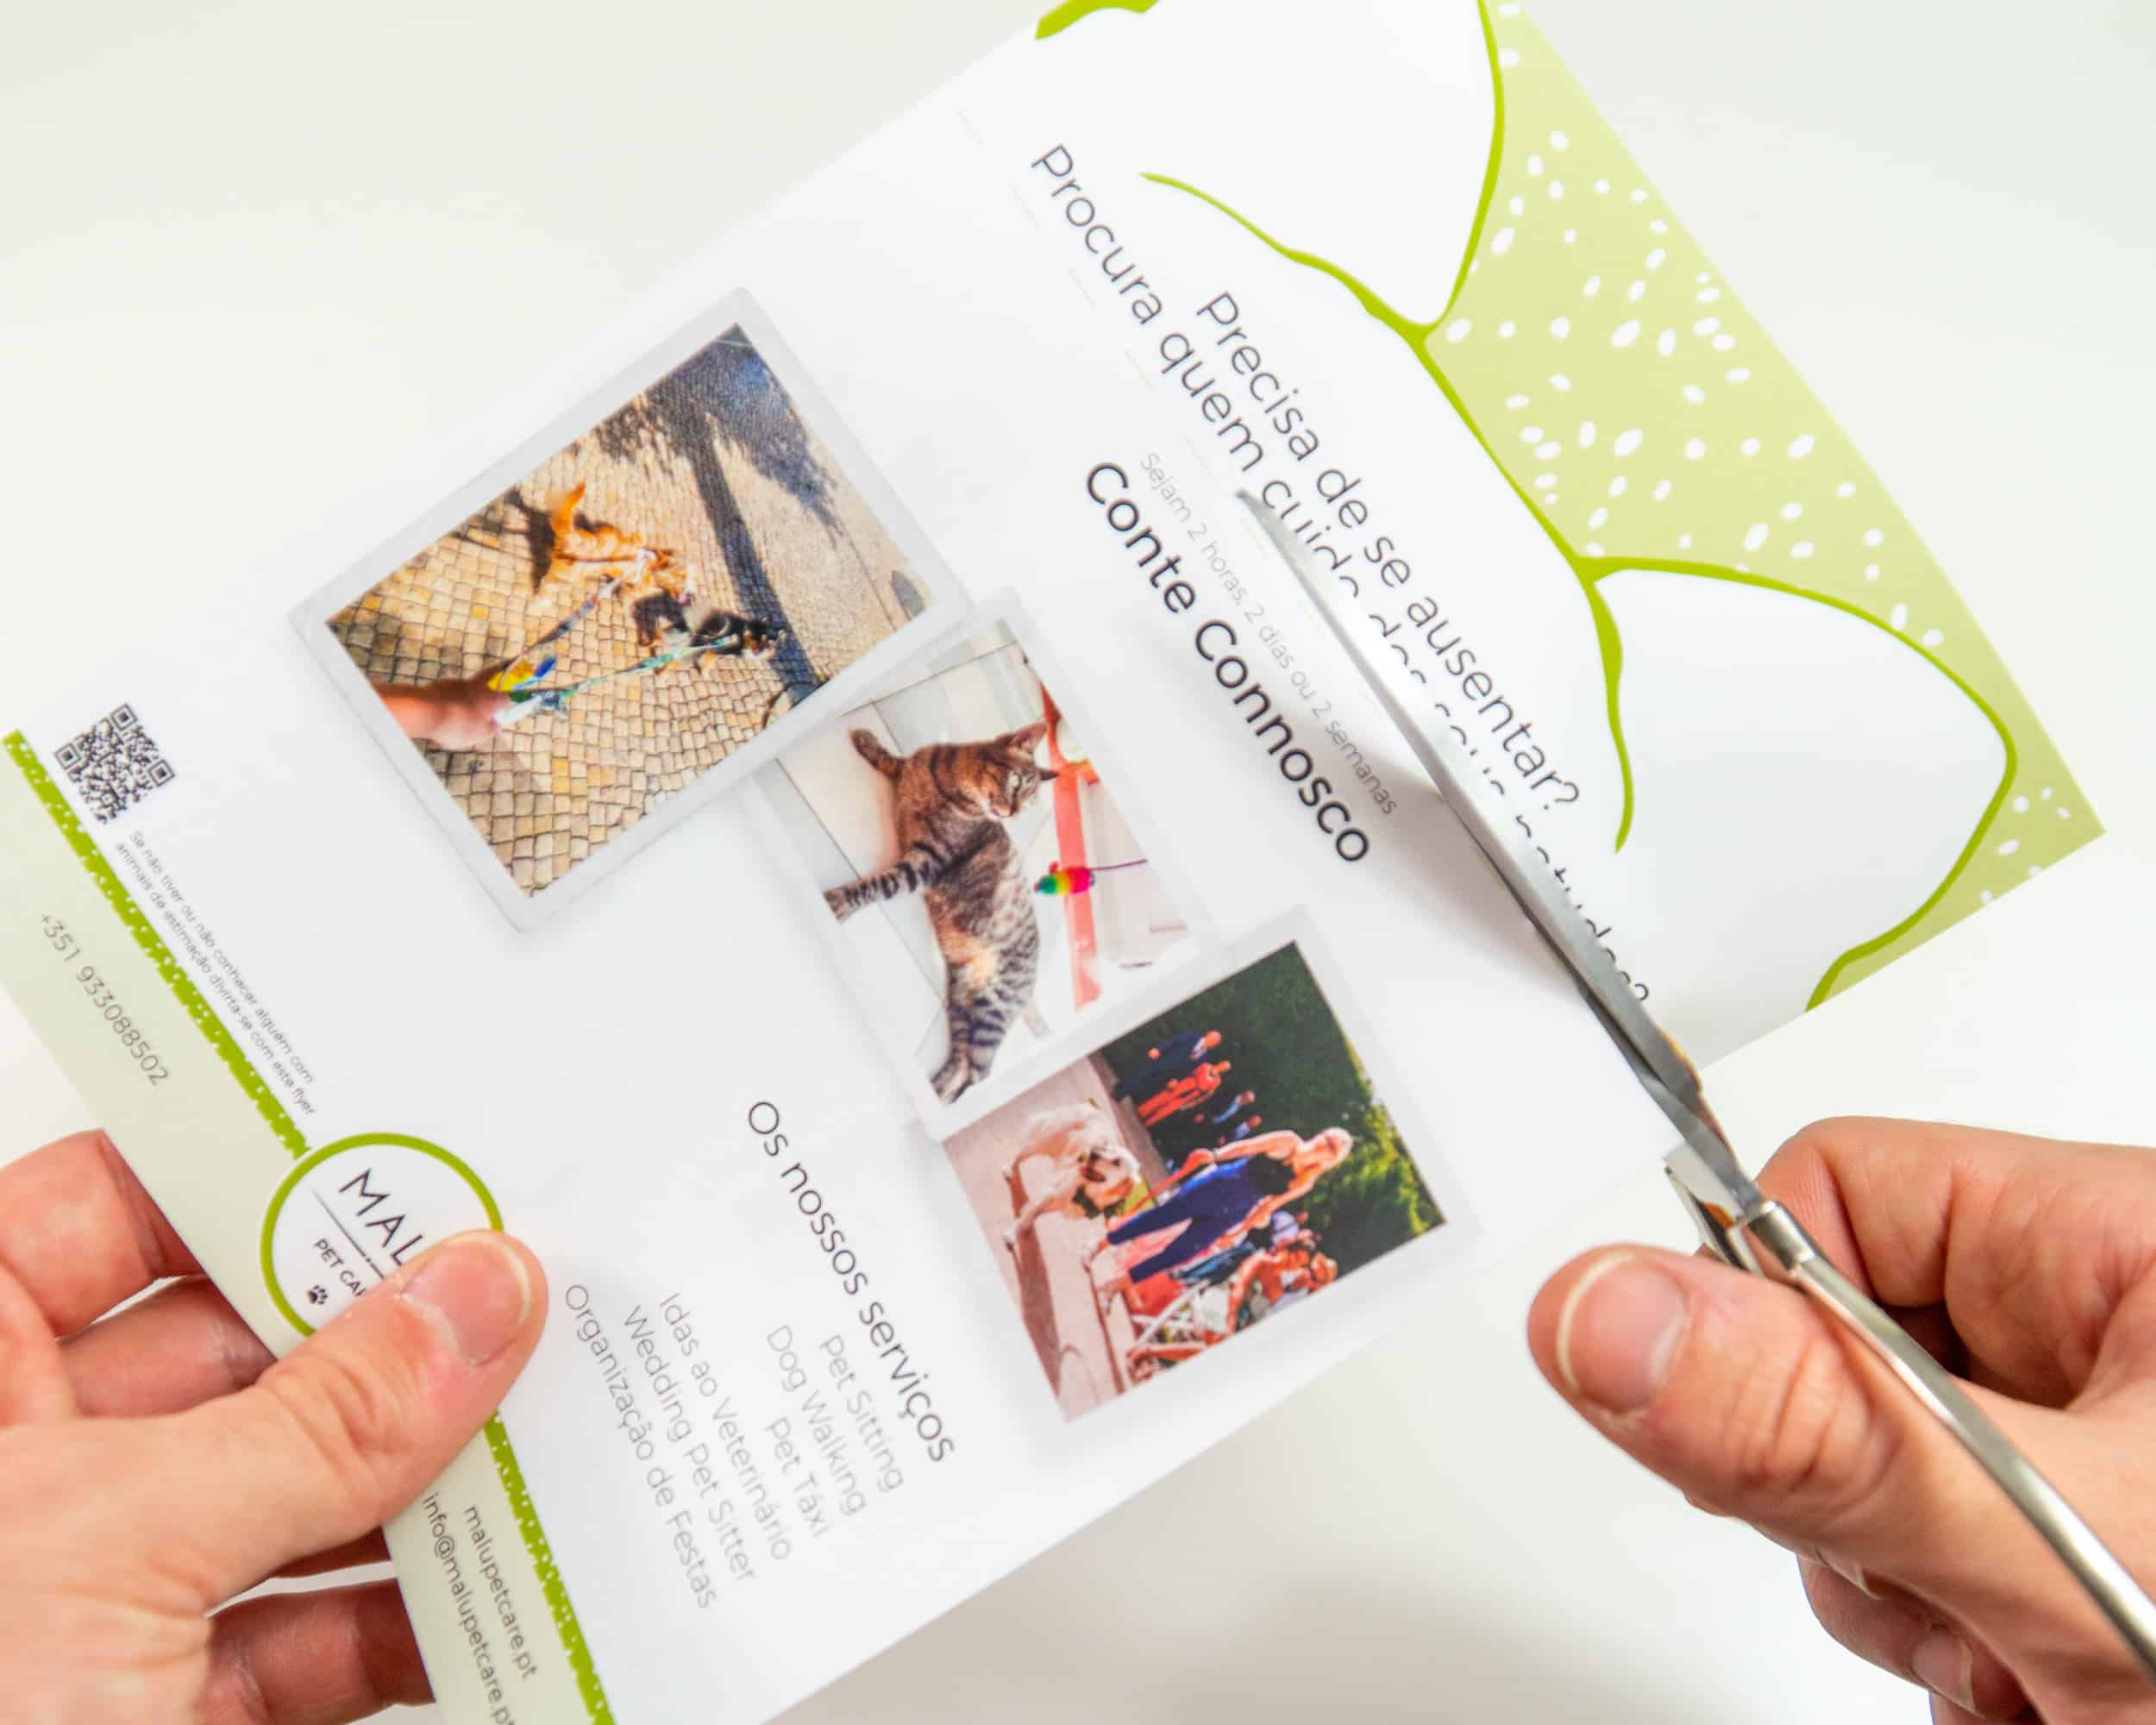
Comecem por cortar o flyer pelo picotado para que fiquemos com um quadrado.
Start by cutting the flyer through the dotted line so that we are left with a square.
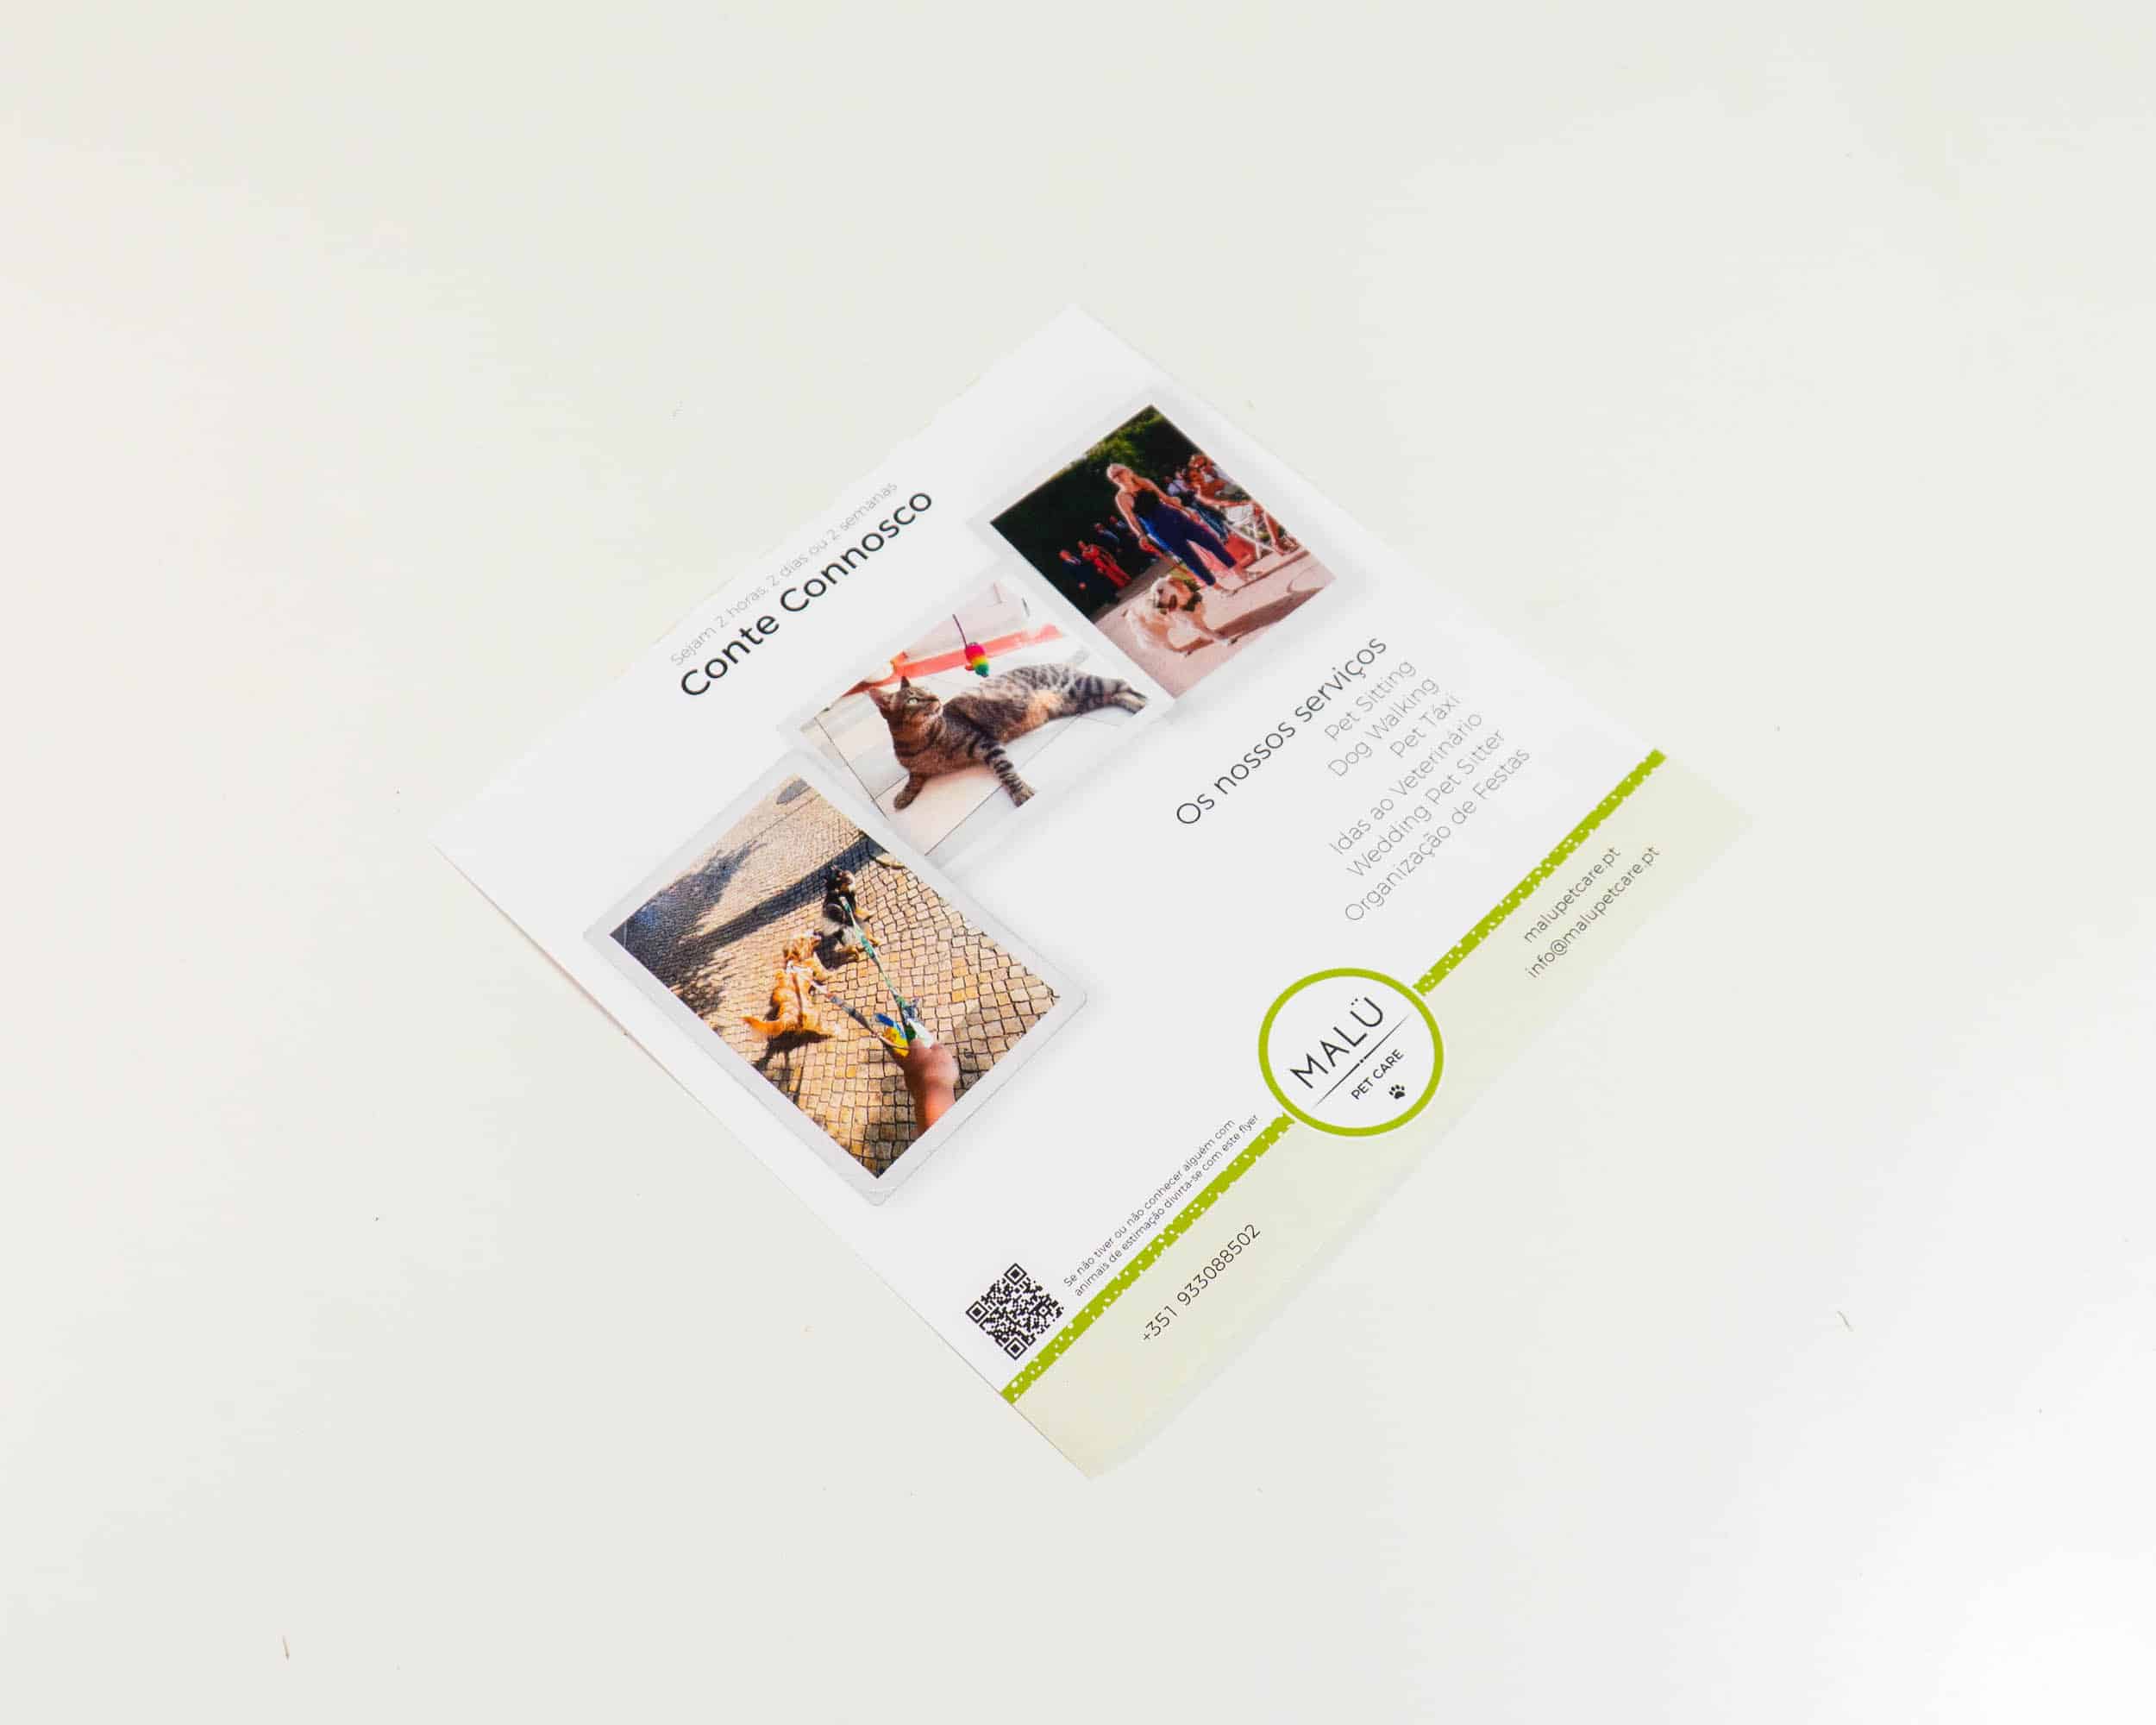
Depois de termos o nosso quadrado podemos avançar para a construção do nosso origami. Passo 1: Começamos por colocá-lo como vemos na imagem.
After we have a square we can begin with the origami. Step 1: We start by placing it as we see in the image.
Passo 2: Dobrem o papel ao meio juntando o canto superior com o inferior. Deverão ficar com um triângulo invertido.
Step 2: Step the paper in half by folding the top corner to the bottom corner. You should be left with an upside down triangle.
Passo 3: Peguem na parte de cima e dobrem até meio sensivelmente.
Step 3: Fold part of the top down so that the edge is about halfway down.
Passo 4: Viram o papel ao contrário.
Step 4: Turn the paper over.
Passo 5: Peguem no canto inferior da camada de cima e dobrem para cima como está na imagem.
Step 5: Take the bottom corner of the top layer and fold it up like it is in the image.
Passo 6: Dobrem a meio unindo o canto da esquerda com o da direita.
Step 6: Fold the figure in half by folding the left side over to the right.
Passo 7: Agora peguem neste mesmo canto que acabaram de dobrar e voltem a dobrar para trás sensivelmente a meio como está na imagem. Uma das asas foi acabada de fazer.
Step 7: Now take the corner that you just folded and fold it back until the middle like in the image. You just created one of the wings.
Passo 8: Virem de novo a figura.
Step 8: Turn the paper over again.
Passo 9: Agora é só pegar no canto mais à esquerda e dobrar como fizemos com o outro lado. Criámos agora a segunda asa.
Step 9: Now it take the corner on your left and fold it like we did on the other side. We now created the second wing.
Passo 10: Para criar a cabeça basta abrir ligeiramente a saliência e pressionar com o dedo tal como se vê nas imagens.
Step 10: To create the head slightly push the center of the head in and flatten just like you see in the pictures.
Está feito! Já tem o seu pássaro! Esperemos que se tenha divertido e agora tem aqui uma bela recordação. E não se esqueça, se conhecer alguém com animais a Malü Pet Care está cá para ajudar
And it’s done! You now have you bird! Let’s hope you had fun and now you have a nice souvenir. And don’t forget, if you know someone with animals Malü Pet Care is here to help